Hey, everyone!
Today we'd like to take you through the process of making one of our 6" Mermaids from the Ocean Dog Collection. From start to finish, we'll show you the stages and give you the details on how it's made. Let's go!

We start with a chunk of clay. It's not pretty, we'll be honest. It will, however, be turned into something pretty! We take this clay and press it into our Mermaid mold. Once pressed it actually stays in the mold for a few hours. While it stays in the mold the clay starts to dry and shrink, resulting in an easy retrieval from the mold once the time comes.

This is what it looks like when it comes out of the mold. It's a bit drier and can be handled without ruining the detail. In this stage we take a close look to see if there are any imperfections as well as clean up the edges to make the next stages a little easier. From here it goes onto our drying racks so it can release most of its' moisture to avoid breaking or shattering in the kiln.

This is what it looks like when it comes out of the kiln. To the eye it doesn't look much different, but you can definitely feel the difference when you hold it in your hand. Because it was fired it's now much stronger and more durable. This is how we store most of our stock. The cool thing about what we do is that our customers have such a wide variety of glaze options to choose from, so when a customer orders a piece from us we're able to glaze it however they like!
 |
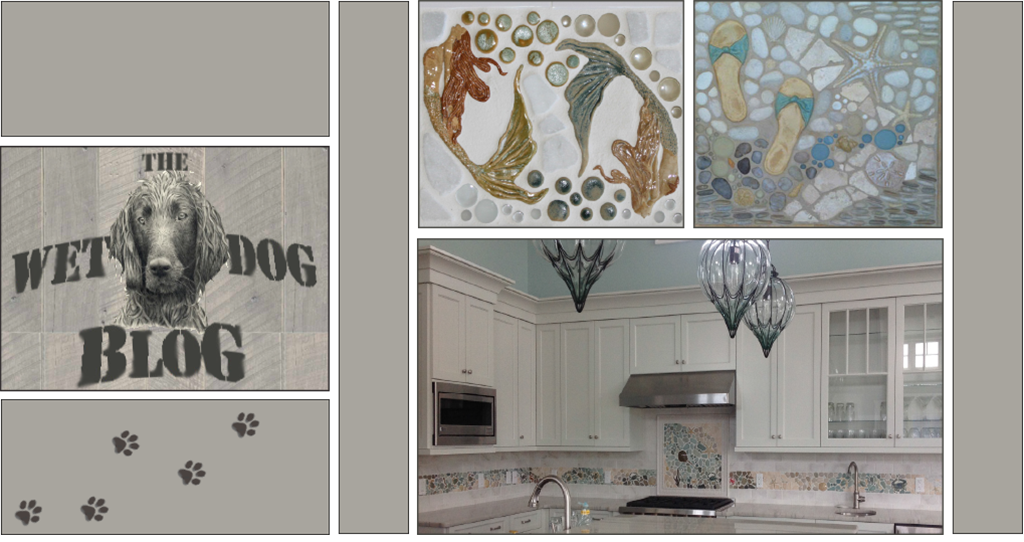
| Glaze colors in order from top to bottom: Hair: Big Moe Brown | Skin: Otis' Oatmeal | Starfish: Big Moe Brown | Tail: Sky Blue Hair: Bailey's Cream | Skin: Otis' Oatmeal | Starfish: Catfood | Tail: Tripod Teal Hair: Bailey's Cream | Skin: Otis' Oatmeal | Starfish: Catfood | Tail: Splish Splash |
As stated above, with so many different glaze options to choose from, the combinations are endless! These are three 6" Mermaids we have in our glaze inventory at the moment. These were glazed by hand and then fired once more. You may notice the unglazed area of clay separating the hair and tail we call a "land bridge". The land bridge, although visible now, is actually recessed below the surface and will be covered in grout during installation, so the shape of the Mermaid really comes out! This is the final result and what we use in our borders and murals!
Are there any other "friends" we offer that you'd like to see step-by-step like this? Be sure to leave us a comment! Have a great week, everyone!
No comments:
Post a Comment