Hey, everyone!
Today we thought we'd take you behind the scenes and show you our design process for a custom layout. This was a more recent project which turned out great and we just received photos of the finished installation so we'd like to share! This bathroom was a fun project for us. The client wanted a custom mosaic border to wrap around the entire bathroom so that's what we set out to do!
Once we received measurements and the "Friends" and colors were chosen, our artists created a detailed concept drawing to scale, along with specifications for Mosaic Textures and Glaze Colors.


The drawing was then sent to the client for review. When we got the 'OK' to begin production our artists got to work! They glazed all of the "Friends" and mosaics needed for the design, cut the mesh backing to the correct sizes, and began laying everything out. Once the layout was complete, we photographed the design and sent it to the customer for review. Below you'll see the "dry-lay" photo for this order.

Once approved, our artists then picked up and glued down each and every piece onto the mesh backing. After the glue dried it then got cut up into smaller interlocking sections for ease of shipping and installation. We labeled each section, packaged the order, and shipped it out. Once installed and grouted, you can't tell where it was cut apart in the first place. Also, because this custom border was designed specifically for this space, the border wraps seamlessly around the inside corners!
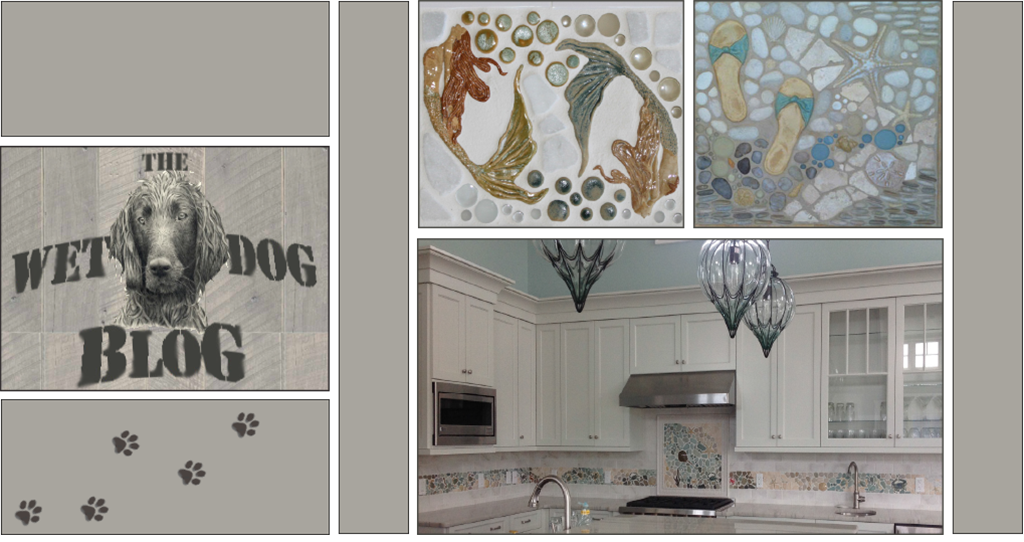
Below are a few of the installation photos we received. See if you can match up the sections from the dry lay photo in any of the installation photos!


Overall we're very pleased with how this turned out, and most importantly the client cloves it! You'll find these photos and more over on our Photos & Ideas page! Enjoy!
No comments:
Post a Comment